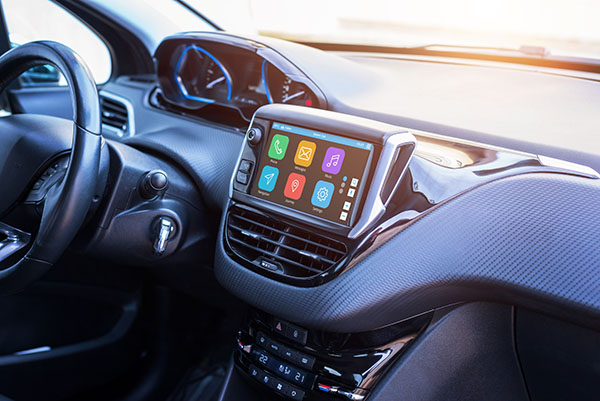
As technology rapidly evolves, so do the features and capabilities of modern vehicles. If you own a little bit of an older Toyota Corolla and want to enjoy the latest in-car entertainment and connectivity options, updating your infotainment system can breathe new life into your driving experience. Let's see how you can do it in a few easy and simple steps!
Step 1: Check for Updates
The first step is to determine if there are any available updates for your Toyota Corolla's infotainment system. Visit the official Toyota website or the manufacturer's support portal and search for the software update section. Enter your vehicle's model and year (you can easily see it in the owner's manual) to check if there are any updates specifically tailored to your car's infotainment system.
Step 2: Prepare a USB Drive
If an update is available, you'll need a USB flash drive to download and transfer the software to your vehicle. Make sure the USB drive has enough storage capacity for the update, usually ranging from 8GB to 32GB, and format it in FAT32 or exFAT format for compatibility.
How can you format your USB stick into FAT32? Here is how:
- Right-click the USB Drive and select Format
- Click on the drop-down of the "File system" menu and choose "FAT32"
- Select "Start" and you are done!
Step 3: Download and Transfer the Update
Download the latest software update from the Toyota website onto your computer. Once the download is complete, locate the update file, usually in ZIP or EXE format, and extract it if necessary. Connect the USB drive to your computer and transfer the updated file to the root directory of the USB drive (do not place it in a folder).
Step 4: Prep Your Car
Ensure your Toyota Corolla is parked in a well-ventilated area with the engine turned off. Close all doors and windows, and disconnect any unnecessary devices from the USB ports.
Step 5: Install the Update
Insert the USB drive into one of the vehicle's USB ports. Turn the ignition on, but do not start the engine. Your infotainment system should recognize the update and prompt you to start the installation process. Follow the on-screen instructions to proceed with the update. This process may take several minutes to complete, so be patient and avoid turning off the ignition or removing the USB drive during the installation.
Step 6: Restart and Verify
After the installation is complete, the infotainment system will restart automatically. Once it powers up, verify that the update was successful by checking the software version in the settings menu. Additionally, test the system's features to ensure everything is functioning correctly.
Step 7: Factory Reset (Optional)
For a clean start, consider performing a factory reset of your infotainment system. Keep in mind that this step will erase all personal settings and configurations, so back up any essential data before proceeding. Perform a factory reset through the settings menu of your infotainment system.
While we don't advise DIY approaches, you are free to follow the steps above. If you encounter any issues, just contact us at Turner Auto Care!